CV8 interior light into a SS ute
After having had a VS II Calais, the lack of creature comforts in the SS ute was a bit of a let down. So here is another 'Pete' personalisation.
There is load of info on this www.ls1.com.au internet forum but nothing I could see about this, so in true Aussie style I raided the GMH parts bin to do this mod to my ute.
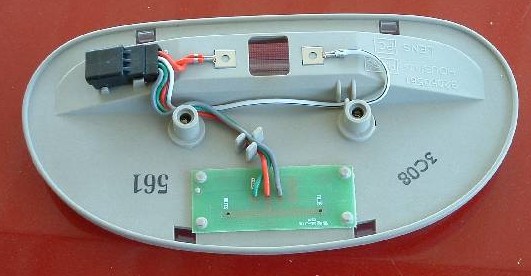
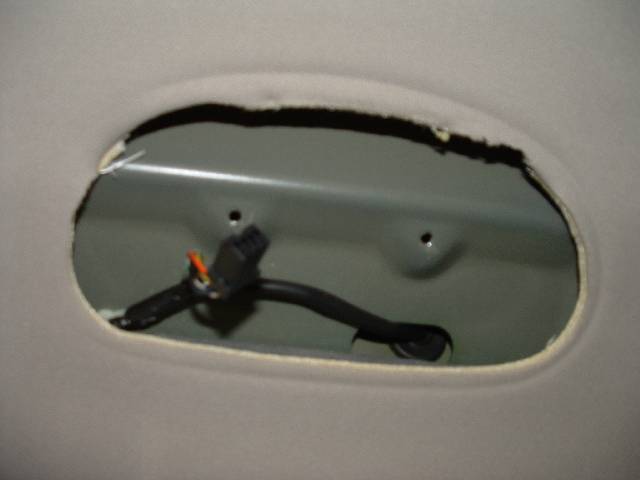
This is a rear view of the standard SS ute interior light. Note the connector position and the mounting holes.
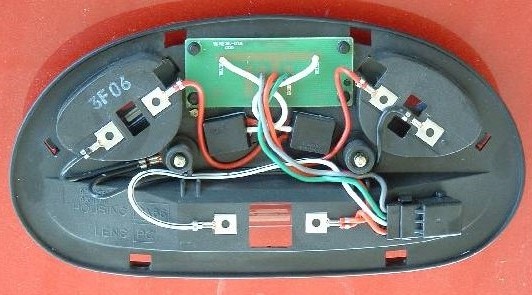
Here we have a CV8 interior light, if you compare the two you will see that the connector, mounting points and general shape are the same, making this swap very easy.
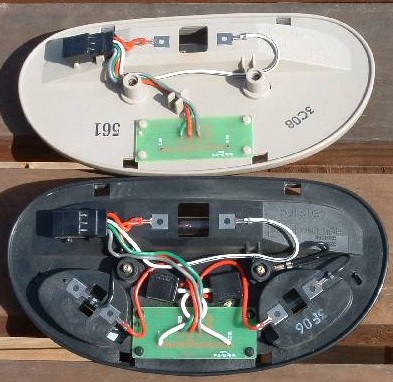
Okay here they are SIDE by SIDE. here you can see the differences and why there needs to be some small 'cut outs' in the hood lining
A bit of a fuzzy shot but it shows the small cut outs I made to accommodate the 'map light' bulges at the front of the light. The head lining is quite easy to cut with a sharp 'hobby knife' or a scalpel blade. (I uses an exacto style hobby knife)
Note: the interior light supports the hood lining in the centre, so do not pull down on it too much unless you want a really close view of it on top of your head.
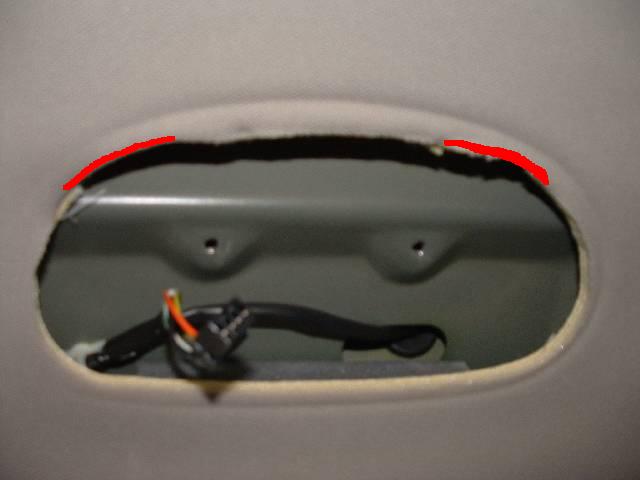
Different view of the headlining where the interior light fits. The RED marks give an indication roughly where I trimmed out sliver about 3mm wide and about 25mm long. If in doubt grab a bit of cardboard, and a pencil to make a template.
NOTE: I take no responsibility for any butchered head lining. \
Be careful, be gentle and do not be in a hurry.
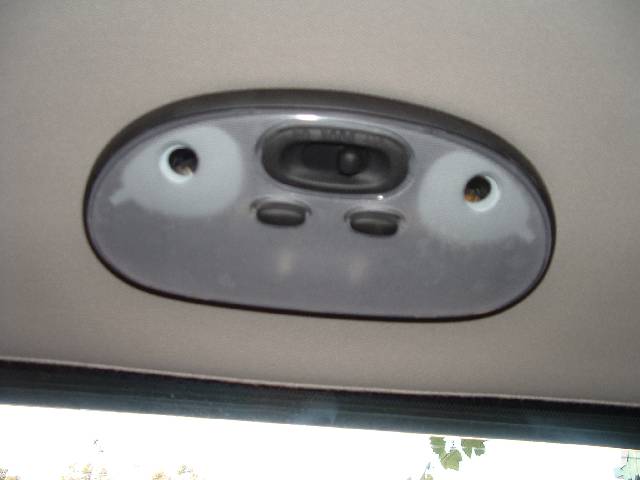
The finished product in place. Now I know its black and not the original beige. I did not specify this when I ordered the light, so I can not blame Holden Spare parts. Anyway its looks good black even with the lighter colour headlining of the Series I VY's
The only strange thing I notice is that the MAIN globe glows a little when a single map light is on... besides that I am a happy camper.
For those who may want to order the light assembly, its description is Lamp, DM. part number: 92119829
It comes with all the globes, covers and two new screws. Just plug in, trim the headlining and away ya go :-)
If you have any comments, please email me and let me know if there are any errors or improvements I can make.
Peter aka VK8ZLX on the forum.